Physical Address
304 North Cardinal St.
Dorchester Center, MA 02124
Physical Address
304 North Cardinal St.
Dorchester Center, MA 02124
If you need to edit photos online without downloading software or learning complex tools, you are not alone. Millions of people, from small business owners and social media creators to students and bloggers, are looking for browser-based editors that give them real control over their images. This article is for anyone who wants to crop, resize, adjust brightness, or fine-tune photos without guessing which tool actually delivers on those promises. By the end, you will know exactly what features to look for, how to evaluate your options, and which tools are worth your time.
Filters and presets can make a photo look polished in a single click, but they do not give you control. A filter that works well on one image can wash out another, and you have no way to fix the problem if the tool does not let you adjust the underlying settings. Manual adjustment controls, on the other hand, let you make deliberate decisions: how much brightness to add, where exactly to crop, what dimensions to hit when resizing.
For anyone creating content professionally or for a consistent audience, manual controls are not optional extras. They are the difference between images that look intentional and images that just look edited. When evaluating any online photo editor, the strength and accessibility of its manual adjustment panel should be one of your first checkpoints.
Before choosing an online photo editor, run any tool through these eight questions. These criteria cover the full picture from usability to practical output quality.
1. Does it offer true manual sliders, or only presets? Some tools advertise “adjustments” but only give you one-click filters. True manual adjustment means you can drag a slider to increase brightness by exactly how much you want, not just pick from “Bright,” “Brighter,” or “Brightest.”
2. How precise is the crop tool? Look for editors that let you crop by custom pixel dimensions, by aspect ratio (for social media formats), or freehand. A good crop tool will also let you straighten a tilted horizon.
3. Can you resize to exact dimensions? Resizing by percentage is useful, but resizing to exact pixel or inch dimensions is essential for anything going to print, a website, or a platform with specific size requirements. Make sure the tool supports both width and height input independently, and preferably lets you lock the aspect ratio.
4. What brightness and light controls are available? At minimum, a serious photo editor should offer brightness, contrast, and exposure controls. Stronger options will also include highlights, shadows, and whites/blacks. The more granular the light controls, the more you can correct a photo without degrading its quality.
5. Does it include color adjustment tools? Saturation, hue, and temperature controls round out the light adjustments and help you correct color casts, warm up a cold scene, or make product colors more accurate. Color and light controls work together, and a tool that is missing either one will limit your results.
6. Is the interface learnable without design experience? Some tools are built for professional designers and assume you already know what “curves” or “levels” mean. If you are a non-designer, look for tools that label their controls in plain language and use sliders rather than numerical input boxes as the primary interaction method.
7. What file types and sizes does it support for upload and download? You may be working with a JPEG from a phone camera, a PNG with a transparent background, or a high-resolution image from a professional camera. Check that the editor accepts what you upload and can export in the format you need, at the quality you require.
8. Is the full adjustment toolkit available for free, or gated behind a paywall? Many tools offer basic cropping and resizing for free but lock brightness and color controls behind a subscription. Know what you are actually getting at no cost before committing to a workflow.
Online photo editors generally fall into a few categories: lightweight quick-action tools, mid-range all-in-one creative platforms, and browser-based professional editors. Each type handles manual adjustments differently.
Lightweight quick-action tools are designed for speed. You upload a photo, perform one specific task (resize, crop, convert a format), and download. These tools are excellent for straightforward tasks but typically do not offer a full adjustment panel. If you need brightness control and color correction in the same session, you will likely have to switch tools midway, which wastes time and can introduce quality loss from multiple saves.
Mid-range creative platforms sit in the most useful position for the majority of users. They offer a more complete set of manual controls alongside design features like text overlays, templates, and export options. The best tools in this category let you crop, resize, and adjust brightness and color in a single editor without switching tabs or re-uploading. The tradeoff is that they sometimes introduce complexity through additional features you may not need, so look for tools that keep their interface clean.
Browser-based professional editors offer the deepest control, including curves, layers, masking, and advanced color grading. These are powerful but come with a steeper learning curve. If you are editing product photos for a business catalog or working with raw image files, this tier is worth the extra time investment. For everyday social media content or blog photography, they are usually overkill.
Adobe Express is worth a close look if you want manual adjustments inside a tool that also handles your broader content needs. Its image enhancer combines AI-powered features with a full set of hands-on controls, which means you are not forced to choose between smart automation and manual precision.
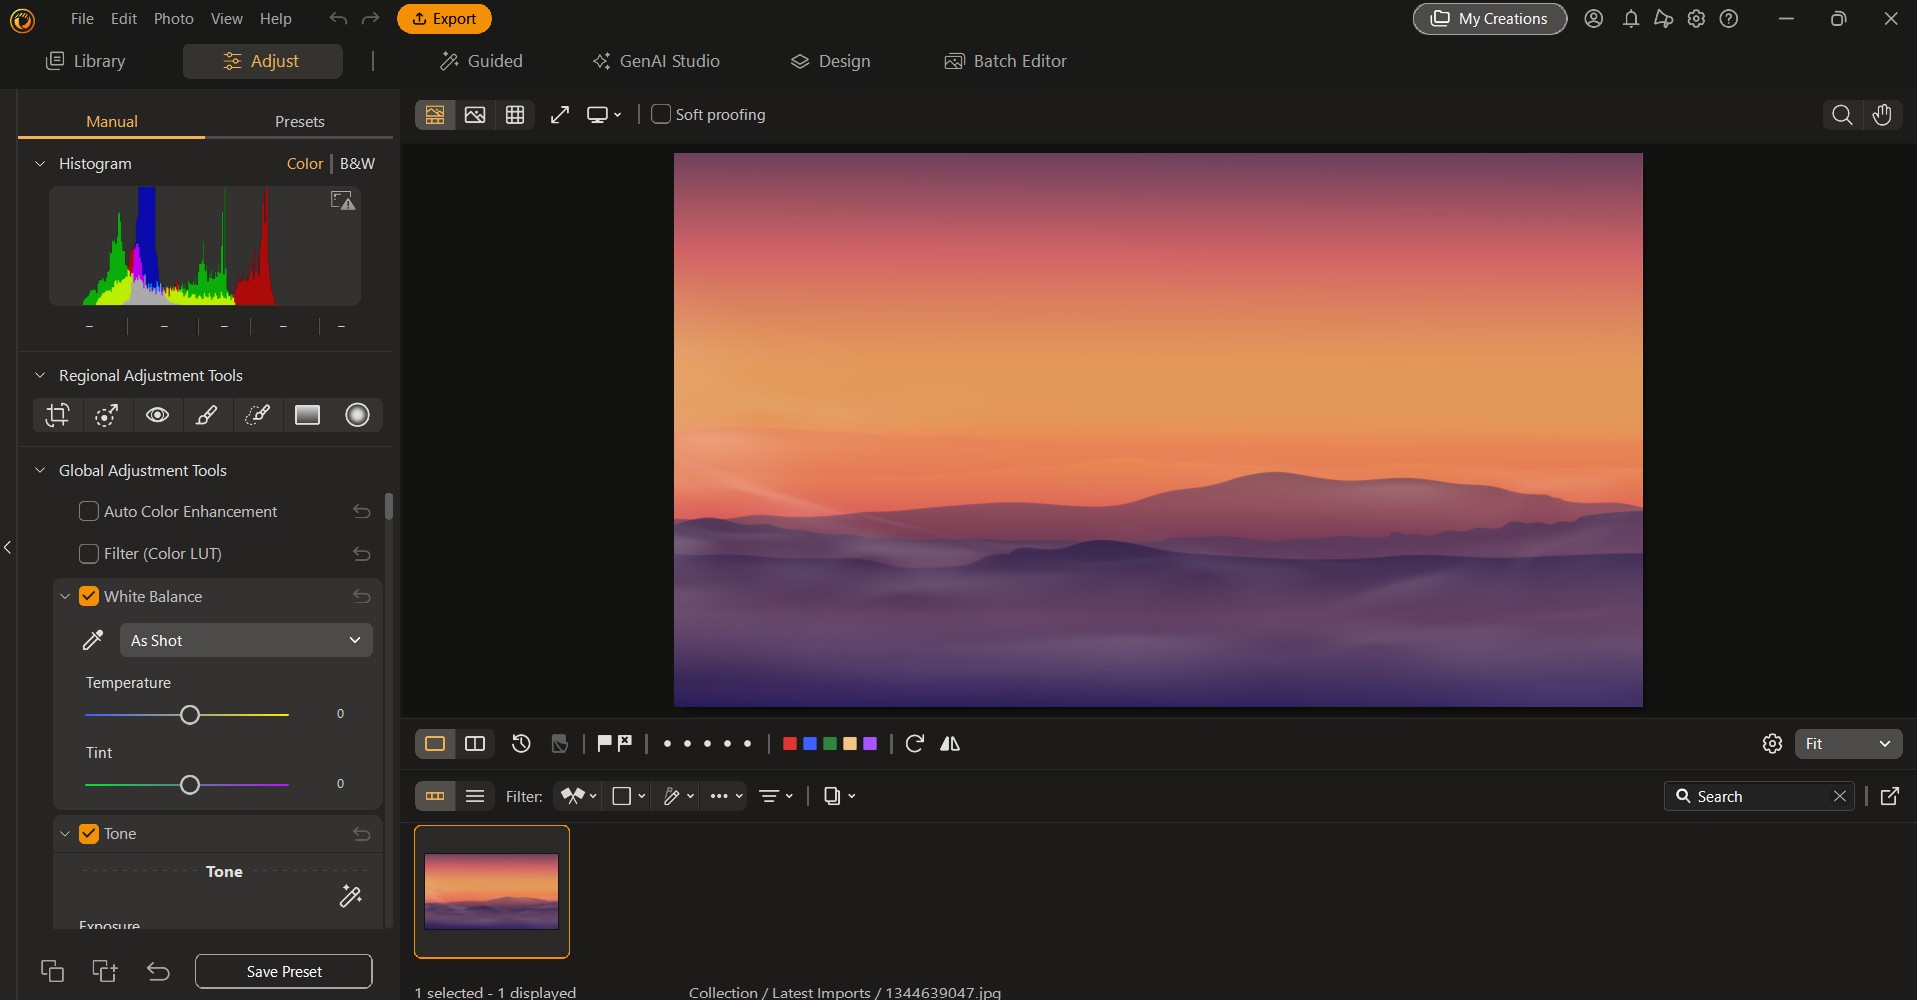
Three features in particular make it stand out from the competition. First, its manual adjustment panel includes crop, resize, straighten, brightness, contrast, and saturation controls in a clean interface that does not require any prior design knowledge. Sliders are clearly labeled and produce visible results in real time. Second, Adobe Express lets you move directly from photo editing into design work. If you are editing a product image to use in a social post or flyer, you can make your adjustments and continue building the design in the same tool, rather than downloading and re-uploading into a second platform. Third, the free plan is genuinely useful. Core manual adjustment features are available without a subscription, which makes it a realistic starting point for individuals and small businesses before they decide whether a paid plan makes sense.
Adobe Express is a well-rounded choice but not the only one. If your needs are purely photographic and you do not need design templates or social media features alongside your edits, a more focused editor may suit you better. And if you need advanced tools like curves or raw file support, a professional-tier browser editor will go further.
Even a strong online photo editor can lead you into habits that lower your output quality. Here are practical tips to avoid common pitfalls.
The right online photo editor for you depends on what you are making, how often you are making it, and how much time you want to spend learning the interface. Use this as a simple matching guide.
If you regularly create social media content and need photos that go directly into designed posts, look for a tool that combines photo editing and design in one place. You will save significant time by not jumping between applications.
If you edit photos for print, e-commerce listings, or a website where accurate dimensions matter, prioritize tools with precise resize controls and high-resolution export. A tool that only resizes by percentage will create frustration when you need to hit a specific pixel count.
If you are editing large volumes of photos, check whether the tool supports batch processing. Some mid-range editors allow you to apply the same crop or resize operation to multiple files at once, which can cut a 30-minute task down to under five minutes.
If you are new to photo editing entirely, start with a tool that uses plain-language slider controls and provides visual feedback in real time. You should be able to understand what each control does within your first session without consulting a help document.
What is the difference between brightness, exposure, and contrast, and do I need all three?
Brightness, exposure, and contrast are related but not interchangeable. Brightness raises or lowers the overall lightness of an image uniformly, affecting all tones equally. Exposure is a similar concept borrowed from photography, but in most editors it mimics how a camera sensor would have captured the shot with more or less light, which tends to affect midtones and highlights more than deep shadows. Contrast controls the gap between the lightest and darkest areas of your image: high contrast makes the darks darker and the lights lighter, while low contrast flattens the image into softer, more muted tones. For most editing tasks you will use all three to some degree. Exposure or brightness corrects an overall too-dark or too-light photo, while contrast adds depth and dimensionality back after that correction. Having access to all three gives you far more flexibility than any single control alone.
How do I know what resolution to export my image at for different uses?
The right export resolution depends on where the image is going. Web images are typically displayed at 72 to 96 PPI (pixels per inch), and what actually matters is the total pixel dimensions. For a standard website image, 1200 to 2000 pixels on the long edge is usually sufficient. For print, the rule of thumb is 300 PPI at the final print size, which means a 4×6 inch print needs at least 1200 x 1800 pixels. For social media, each platform publishes its own recommended dimensions, and these change periodically. A useful, non-design resource for staying current on those specifications is Sprout Social’s Image Size Guide, which tracks recommended sizes across major platforms and is updated regularly.
Can I edit photos on a mobile device using browser-based tools?
Most reputable online photo editors offer responsive web interfaces that work on mobile browsers, and many also offer dedicated mobile apps. The editing experience on mobile can be limited by screen size, making precision adjustments like fine cropping or exact resize inputs harder to control with a finger than with a mouse. If you frequently edit on mobile, prioritize tools that have a dedicated mobile app rather than just a responsive website, as apps are typically optimized for touch interaction, and features like slider controls tend to work more reliably.
Should I use an AI auto-enhance feature, or is manual adjustment always better?
Neither is universally better. AI auto-enhance works well when a photo is slightly underexposed or has a mild color cast, and applying it can save you several minutes of manual work. However, AI enhancement is calibrated around what “good” typically looks like across a broad range of photos, not what your specific image needs. If you are correcting a product photo where accurate color is critical, or if you want a particular creative look rather than a technically balanced one, manual adjustment will always give you more accurate results. The best approach is to use AI enhancement as a starting point and then fine-tune manually from there.
Is it safe to upload personal or confidential images to online photo editors?
This depends entirely on the platform’s privacy policy and data handling practices. Before uploading sensitive images, read the terms of service to understand whether the platform stores your uploaded files, how long they are retained, and whether they are used for any purpose beyond performing the edit you requested. Reputable platforms with well-established privacy policies will be transparent about this. For images containing identifiable people, private documents, or proprietary business materials, you should pay particular attention to whether the platform’s policy meets your privacy requirements. When in doubt, use a locally installed editor for sensitive content rather than a browser-based tool.
Choosing the right online photo editor for manual adjustments comes down to clarity about what you actually need. If cropping, resizing, and brightness control are your core tasks, nearly every mid-range platform will cover the basics. What separates the strong options from the frustrating ones is how those controls are implemented: whether they are truly manual, whether they are accessible without a subscription, and whether the interface makes sense to someone who is not a professional designer.
Use the eight evaluation criteria in this article as your filter when testing any new tool. Start with a free account, upload a challenging image, and see how the manual adjustment panel behaves before committing to a workflow. The right tool will feel intuitive within your first session and will consistently produce results you are proud to publish.

